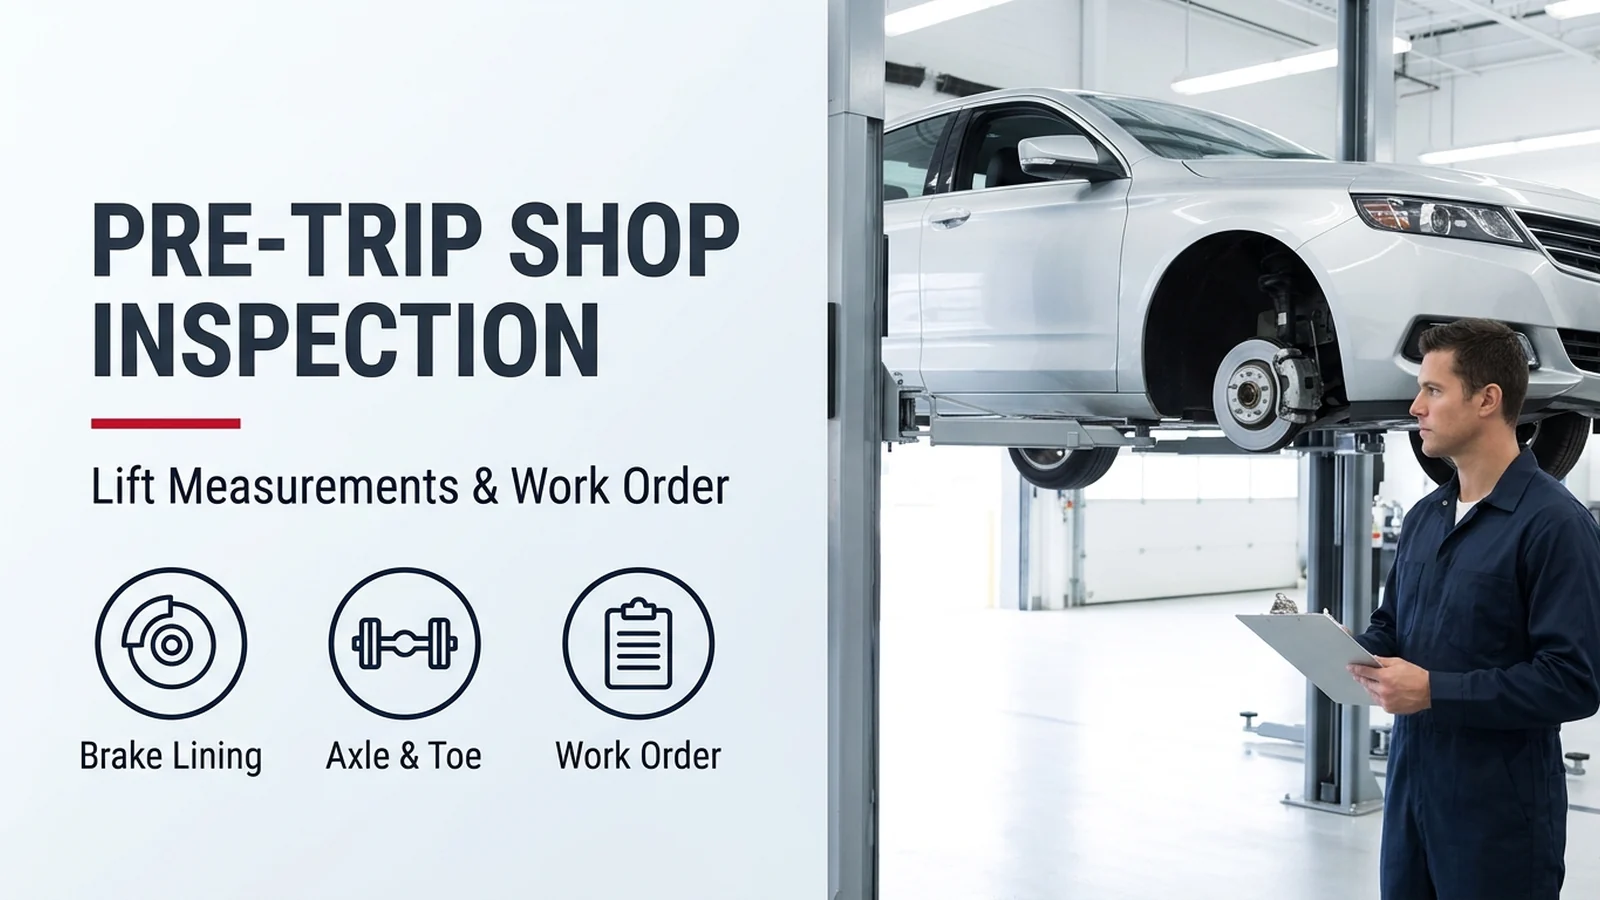
A car service before a road trip puts the vehicle on a lift and bay test equipment to record measurements you cannot take in a flat driveway: a 125-pound, 10-second brake-pedal integrity hold, pedal travel within 80 percent of floor distance, brake lining at least one thirty-second of an inch thick with one front wheel and one rear wheel removed, same-axle roller brake force within 20 percent, and wheel toe within 1.5 times the automaker’s service specification. Alongside those chassis measurements, a mechanic checks the battery, charging system, drive belts, and cooling system for leaks, while you keep a signed written estimate up front and collect an itemized repair order showing drop-off and completion odometer readings.
49 CFR 570.3 does not by itself impose requirements on any person; it is written for States to implement through the highway safety program standards under 23 U.S.C. 402 for inspection of motor vehicles with a gross vehicle weight rating (GVWR) of 10,000 pounds or less, except motorcycles and trailers. Those measurable pass/fail thresholds give you a concrete pre road trip car inspection work order for the repair bay, leaving cold door-placard tire inflation, penny tread checks, reservoir fluid levels, and visual wheel-spoke pad checks on our driveway tires, fluids, and brakes vehicle checklist, departure-week packing on our three-stage car prep and packing checklist, and highway rest cadence on our daily driving distance and fatigue guide.
Driveway Check vs. Shop Inspection: What Needs a Lift?
A driveway walk-around verifies cold door-placard tire pressure after the car sits undriven for at least three hours and screens for the 2/32-inch tread limit, whereas a shop inspection unbolts wheels, loads ball joints on a lift, measures hydraulic brake reserve and axle balance, and checks alignment toe with a scuff gauge or alignment rack. Wheel alignment and tire balancing are performed by a qualified technician (NHTSA TireWise).
| Subsystem | Driveway Scope (Driver Checklist) | Shop Bay Procedure and Equipment | Federal or Official Benchmark (10,000 lb GVWR or Less) |
|---|---|---|---|
| Service Brake Hydraulics | Brake fluid reservoir level and pedal feel before departure | With the engine running on power brakes, apply the stated pedal force; measure free and depressed pedal heights to the floor stop | Hold 125 pounds for 10 seconds and note pedal height and whether the lamp illuminates; no line or other part fails; pedal travel at or under 80 percent of free floor distance (49 CFR 570.5) |
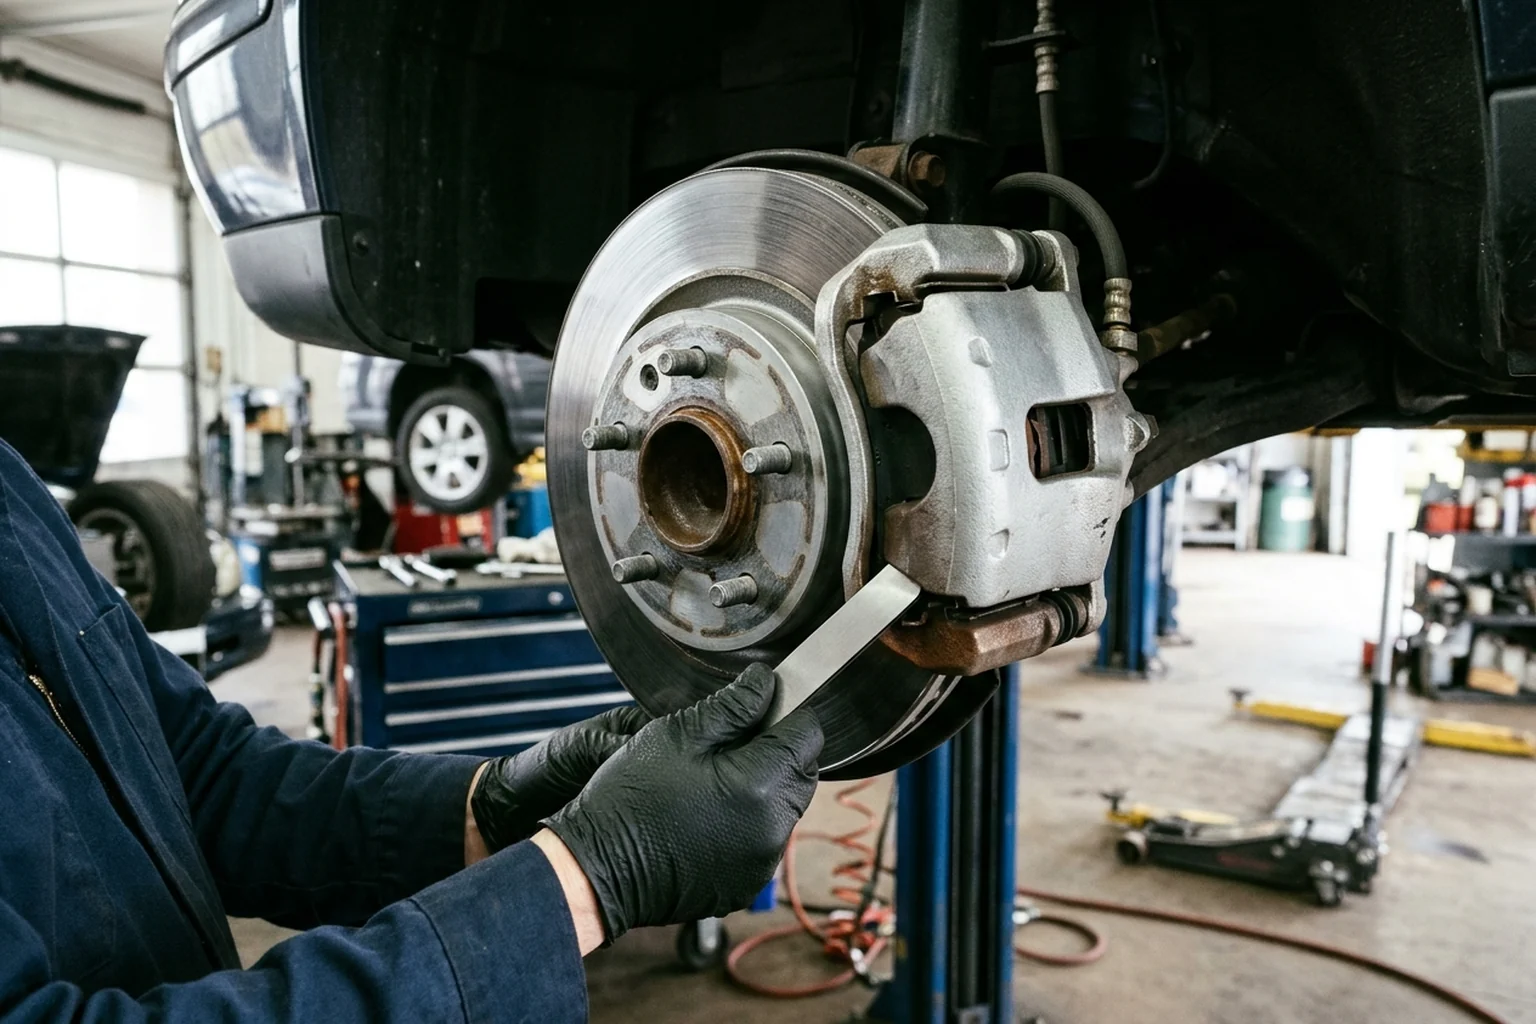
| Brake Lining, Rotors, and Drums | Flashlight look through wheel spokes where caliper geometry permits | Lift vehicle and remove at least one front wheel and one rear wheel to measure friction material and embossed drum or disc markings | Lining or pad at least one thirty-second of an inch over rivet heads or bonded shoe; drum diameter and rotor thickness within embossed or OEM limits (49 CFR 570.5) |
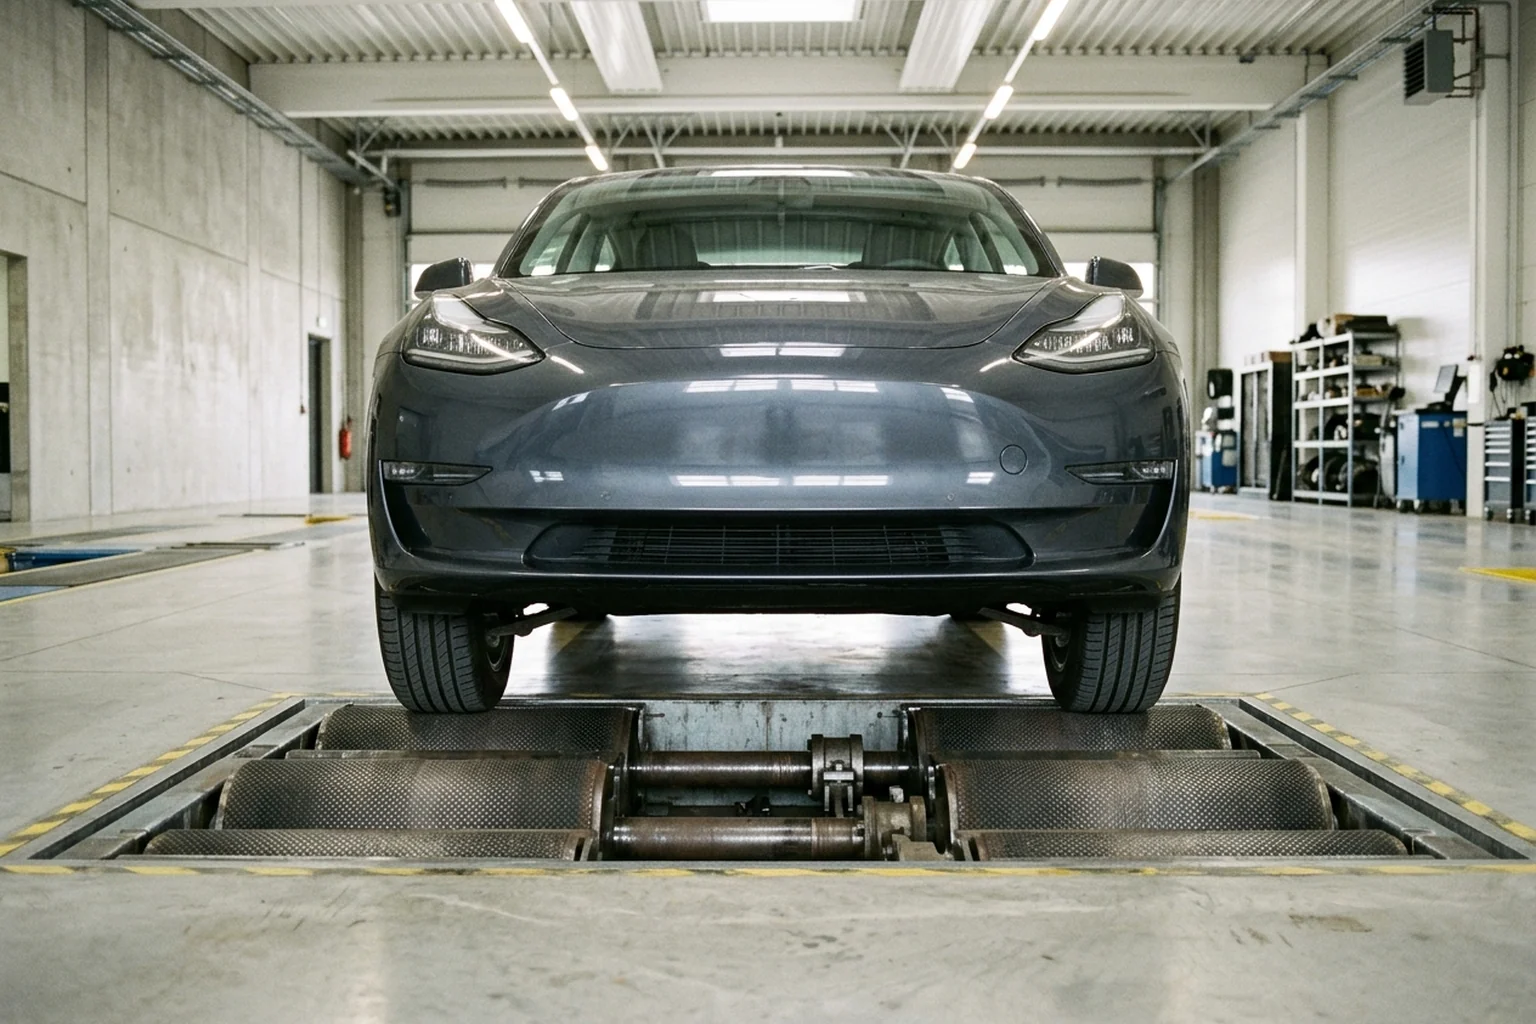
| Axle Brake Force Balance | Not measurable in a parked driveway | Drive onto a roller-type or platform brake tester, or run a controlled lane stop from 20 mph | Left-to-right brake force difference at or under 20 percent on the front axle and 20 percent on the rear axle, or a 25-foot stop from 20 mph inside a 12-foot lane (49 CFR 570.5) |
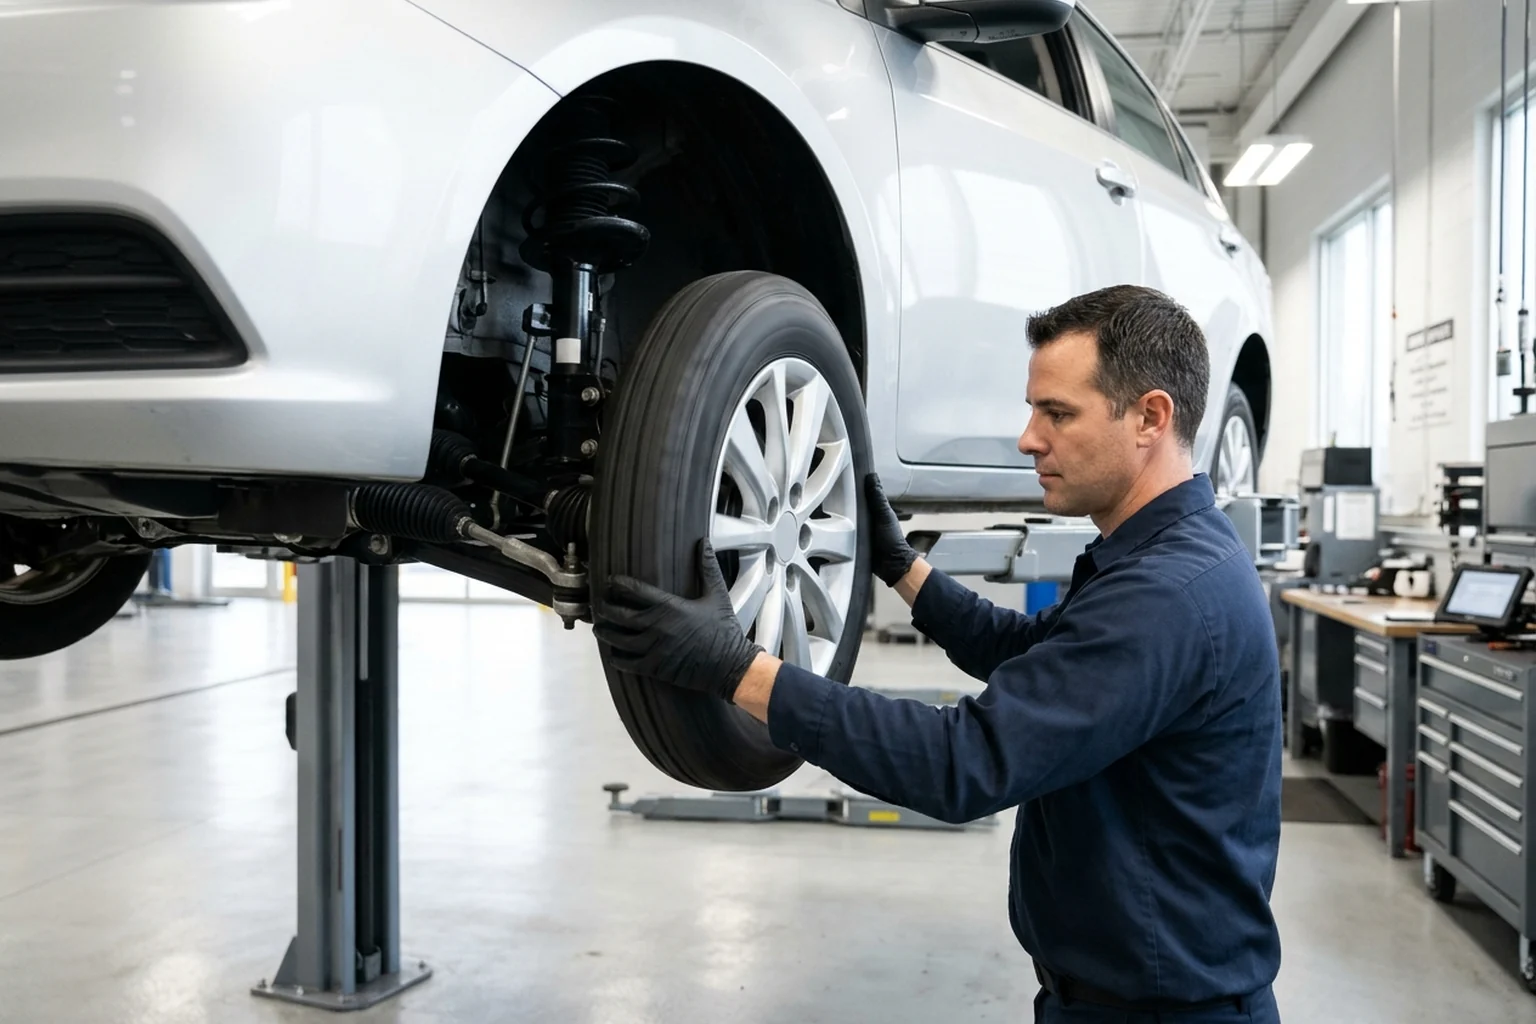
| Steering and Alignment Toe | Visual check for uneven shoulder or feathering wear across tread | Elevate front end to load ball joints and grasp tire front and rear; measure toe on a bar-type scuff gauge or toe device; technician alignment | Steering-wheel lash at or under 2 inches when the steering-wheel diameter is 16 inches or less; linkage play at or under one-quarter inch at the tread; toe within 1.5 times the manufacturer service specification (49 CFR 570.7) |
| Suspension and Shock Absorbers | Listen for clunks and check parked ride posture | Underbody lift inspection of joints, springs, stabilizer links, bushings, and damper housings, plus free-rocking test | Ball-joint seals not cut or cracked; bushings not cracked, extruded, or missing; no oil on shock housings from seal leakage; at most two free rocking cycles (49 CFR 570.8) |
| Tires and Wheel Balance | Cold placard pressure (at least 3 hours parked) and 2/32-inch penny check on all tires plus spare | Inspect wear indicators across two adjacent major grooves at three locations around the circumference; balance newly installed tires | At least 2/32 inch tread on every tire for light vehicles at or under 10,000 pounds GVWR (49 CFR 570.9; NHTSA TireWise) |
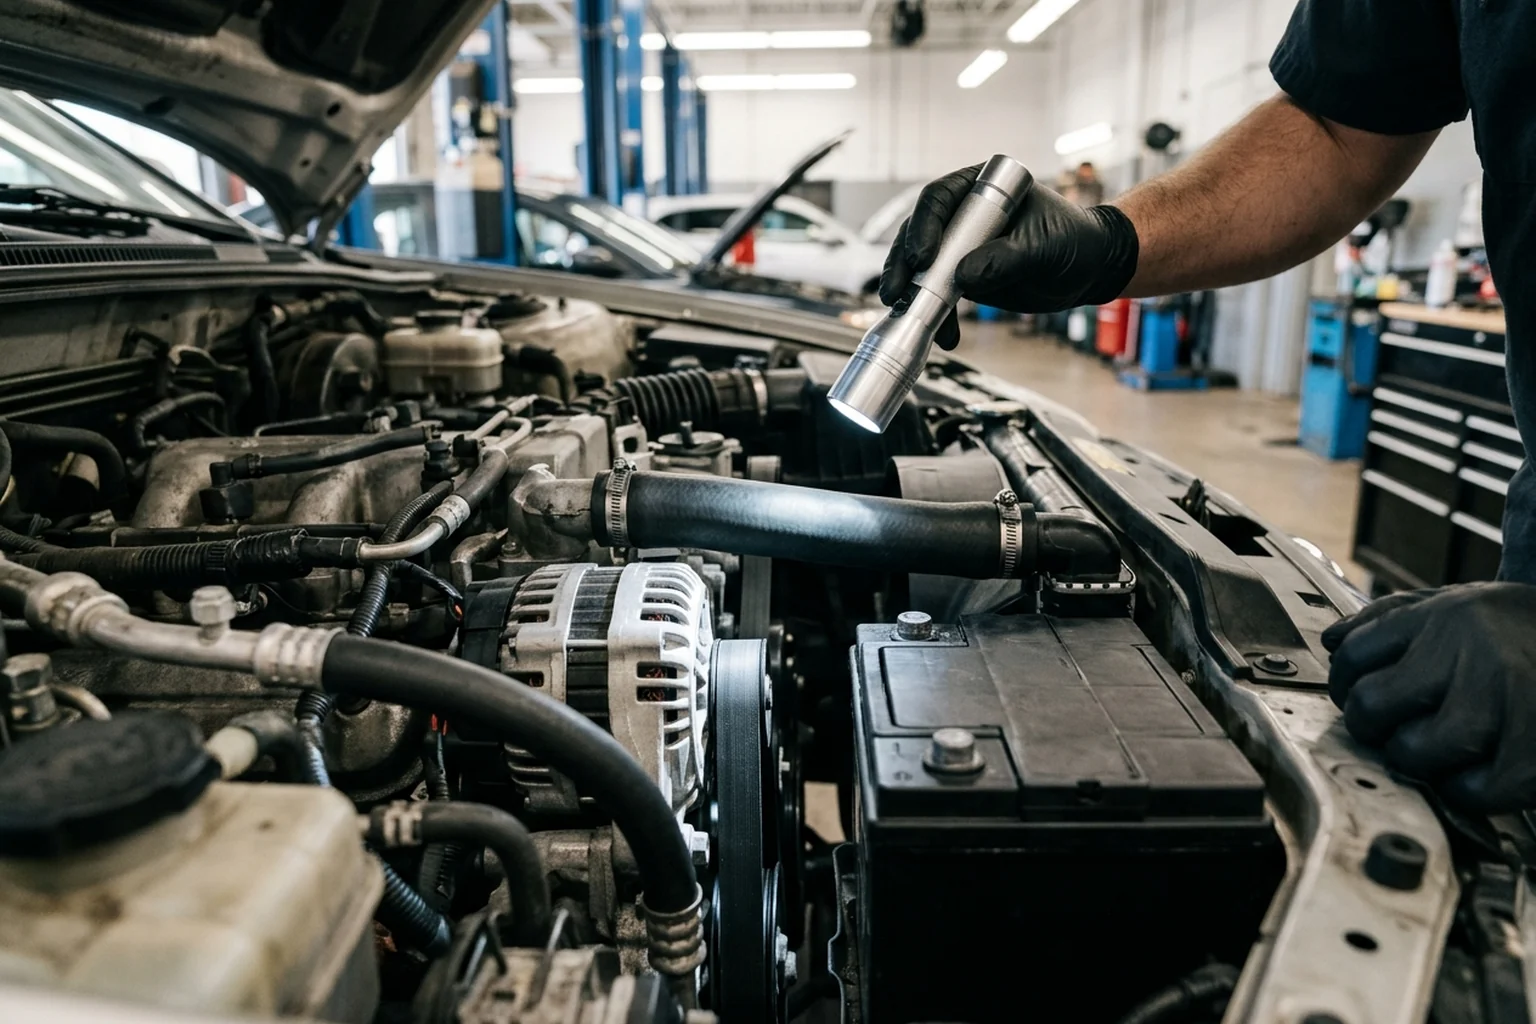
| Battery, Charging, and Cooling | Reservoir level check when cool | Mechanic battery and charging-system inspection (plus drive belts in cold weather), cooling-system leak check, and coolant test against manual | Coolant matched to owner's manual specification; belts and hoses replaced when bulges, blisters, cracks, or cuts appear (NHTSA Summer and Winter Driving Tips) |
Which Brake Measurements Confirm Road-Trip Readiness?
Seven hydraulic, mechanical, and fluid checks under 49 CFR 570.5, 49 CFR 570.6, and 49 CFR 571.116 establish whether a light vehicle’s service brakes are ready for highway loads. Unless a specific test step specifies another load, ordinary light-vehicle inspection steps apply 25 pounds of pedal force on power-assisted and full-power brake systems and 50 pounds on systems without power assist.
Pedal Integrity Hold, Vacuum Booster Check, and Failure Lamp
- Confirm the original-equipment brake system failure indicator lamp operates properly. In 49 CFR 570.5(a), the text notes that Federal Motor Vehicle Safety Standard No. 105 (49 CFR 571.105) required that lamp on new passenger cars manufactured on or after January 1, 1968, and on other motor vehicles manufactured on or after September 1, 1975. In the current 49 CFR 571.105 text, S3 states application to multi-purpose passenger vehicles, trucks, and buses over 3,500 kilograms (7,716 pounds) GVWR with hydraulic or electric brakes, while S5.1 retains a service-brake capability clause referencing passenger cars and multi-purpose passenger vehicles, trucks, and buses at 10,000 pounds GVWR or less.
- Run the hydraulic integrity hold under 49 CFR 570.5(b). With the engine running on power-brake vehicles (or ignition turned on for non-power systems), the technician applies 125 pounds of force to the brake pedal and holds it for 10 seconds. Integrity is no perceptible decrease in pedal height under that force, or no illumination of the failure lamp, and the system must withstand the force without failure of any line or other part.
- Verify vacuum power-assist operation under 49 CFR 570.6(a). Inspect all vacuum hoses to confirm none are collapsed, abraded, broken, improperly mounted, or audibly leaking. After pumping the pedal with the engine off to exhaust residual vacuum, hold a constant 25-pound force on the pedal and start the engine: the pedal should drop slightly as vacuum assist builds. Full-power brake systems skip this vacuum test because the service-brake performance test evaluates their assist directly.
Pedal Reserve Formula and Shop Measurement Procedure
Under 49 CFR 570.5(c), fully depressing the brake pedal must not consume more than 80 percent of total available travel from the free position to the floorboard or other stop that restricts pedal movement. With the engine operating on power-assisted brakes, the technician measures free pedal distance A from the unpressed pedal to the floorboard or stop, depresses the pedal, measures remaining distance B from the depressed pedal to that same stop, and computes travel percentage:
Pedal travel percentage = [(A - B) / A] × 100
Worked shop verification rule: record A and B in matching units on the specific vehicle on the bay floor, subtract B from A, divide by A, and multiply by 100. Any result above 80 percent fails the pedal-reserve standard. Under 49 CFR 570.5(c)(1), the pedal-reserve check is not required for full-power central hydraulic brake systems or for brake systems designed to operate with greater than 80 percent pedal travel.
Roller Equalization, Wheel-Off Lining, and Embossed Rotor Specs
To verify side-to-side braking balance, 49 CFR 570.5(d) provides two shop methods after tire inflation is within the limits recommended by the vehicle manufacturer:
- On a roller-type or drive-on platform brake tester, braking force on one front wheel must not differ by more than 20 percent from braking force on the opposite front wheel, and the same 20 percent maximum difference governs the two rear wheels.
- Where a shop uses the road-test alternative instead of rollers, the service brakes must stop the vehicle in 25 feet or less from 20 miles per hour without leaving a 12-foot-wide lane, on a level, dry, smooth, hard-surfaced road free of loose material, oil, or grease.
To inspect discs, drums, linings, and structural brake parts under 49 CFR 570.5(f) through (h), remove at least one front wheel and one rear wheel. Drums embossed with a maximum safe diameter and rotors embossed with a minimum safety thickness (these dimensions are on motor vehicles manufactured since January 1, 1971, and may be found on vehicles manufactured for several years prior) must stay within those embossed limits, or within the manufacturer’s specifications if unembossed. On each inspected brake, the lining or pad thickness must be at least one thirty-second of an inch over the rivet heads or over the brake shoe on bonded linings or pads, drum linings must be securely attached to brake shoes, disc pads must be securely attached to shoe plates, and linings and pads must not have cracks or breaks that extend to rivet holes except minor cracks that do not impair attachment.
Verifying Brake Fluid Grades on the Work Order
When a pre-trip brake service includes topping off or flushing brake fluid, check both the reservoir cap warning and the fluid container grade listed on your invoice. On vehicles covered by 49 CFR 571.105 S5.4.3, a permanent warning in letters at least one-eighth of an inch high sits on or within 4 inches of the filler plug or cap instructing the technician to clean the cap before removal and add only the named grade from a sealed container (using DOT 3 as the statutory example). Federal fluid specifications in 49 CFR 571.116 set the following minimum boiling points, colors, and container labels:
| Brake Fluid Grade | Minimum Dry ERBP (S5.1.1) | Minimum Wet ERBP (S5.1.2) | Required Fluid Color (S5.1.14) | Container Label Distinction (S5.2.2.1) |
|---|---|---|---|---|
| DOT 3 | 205 °C (401 °F) | 140 °C (284 °F) | Colorless to amber | DOT 3 grade plus minimum wet boiling point in Fahrenheit |
| DOT 4 | 230 °C (446 °F) | 155 °C (311 °F) | Colorless to amber | DOT 4 grade plus minimum wet boiling point in Fahrenheit |
| DOT 5 (Silicone Base) | 260 °C (500 °F) | 356 °F | Purple | Must state DOT 5 SILICONE BASE plus minimum wet boiling point in Fahrenheit |
| DOT 5.1 (Non-Silicone Base) | Grouped under DOT 5 grade in S5.2.2.1 | Printed in Fahrenheit on container label per S5.2.2.1(c) | Colorless to amber | Must state DOT 5.1 NON-SILICONE BASE plus minimum wet boiling point in Fahrenheit |
How Do Shops Measure Steering Play, Suspension, and Toe?
Once the front end is supported on a lift and checked across an alignment bay, 49 CFR 570.7 and 49 CFR 570.8 separate steering lash, linkage free play, toe alignment, and damper condition into four physical measurements:
- Steering wheel lash: For a steering wheel with an outside diameter of 16 inches or less, Table 1 of 49 CFR 570.7 sets maximum steering-system free play at 2 inches before the front wheels begin to turn.
- Loaded steering linkage play: Under 49 CFR 570.7(b), the technician raises the front end of the vehicle so the ball joints remain loaded, verifies that wheel bearings are properly adjusted, and grasps the front and rear of the tire to rock the wheel assembly left and right. Free horizontal movement measured at the front or rear tire tread must not exceed one-quarter of an inch.
- Scuff-gauge or alignment-rack toe tolerance: Under 49 CFR 570.7(d), toe-in or toe-out measured with a bar-type scuff gauge or other toe-measuring instrument must not exceed 1.5 times the value printed in the automaker’s alignment service specification. Per NHTSA summer and tire safety guidance, uneven wear across the tread calls for tire rotation and/or wheel alignment so the car does not veer right or left on a straight, level road, and new tires should always be balanced when installed.
- Suspension hardware and shock damping: Under 49 CFR 570.8(a) and (b), ball-joint seals must not be cut or cracked; structural parts must not be bent or damaged; stabilizer bars must stay connected; springs must not be broken or extended above the vehicle manufacturer’s design height (spacers, if installed, go on both front springs, both rear springs, or all four springs); rubber bushings must not be cracked, extruded out of the joints, or missing; shock absorber mountings, shackles, and U-bolts must be securely attached; shock absorber housings must show no oil from seal leakage; and pushing down on one end of the vehicle and releasing it must not produce more than two free rocking cycles.
Apply these quick shop decision rules when reviewing inspection findings with your service advisor:
- If a 125-pound, 10-second hold shows a perceptible decrease in pedal height or the failure lamp illuminates, note that result under 49 CFR 570.5(b); a line or other part that fails under the force fails the integrity check.
- If brake force on one front wheel differs by more than 20 percent from the other front wheel, or the two rear wheels differ by more than 20 percent, the roller-type or drive-on platform test in 49 CFR 570.5(d) is not met.
- If free movement at the front or rear tread exceeds one-quarter of an inch with the front end elevated to load the ball joints, 49 CFR 570.7(b) calls that excessive steering-linkage play; toe greater than 1.5 times the manufacturer’s alignment setting fails 49 CFR 570.7(d), and wheel alignment is performed by a qualified technician.
- If oil is on a shock absorber housing from seal leakage, or free rocking continues for more than two cycles, the shock absorber fails 49 CFR 570.8(b).
Does the Four Thirty-Seconds Front-Tire Rule Apply to Passenger Cars?
No. A sedan, hatchback, minivan, crossover, or family SUV with a gross vehicle weight rating of 10,000 pounds or less falls under Subpart A (49 CFR 570.3 and 49 CFR 570.9), which sets a uniform minimum tread depth of two thirty-seconds of an inch (2/32 inch) on every tire. Molded passenger-car treadwear indicators sit flush with the tread ribs once depth drops below two thirty-seconds of an inch, and the shop procedure checks for exposed indicators in any two adjacent major grooves at three roughly equal intervals around the tire circumference (using a tread depth gauge where needed on light trucks or vans whose tires lack passenger-car indicators). Both NHTSA Summer Driving Tips and NHTSA Winter Weather Driving Tips match that 2/32-inch minimum.
The four thirty-seconds of an inch front-tire threshold belongs exclusively to Subpart B (49 CFR 570.51, 49 CFR 570.53, and 49 CFR 570.62), which governs motor vehicles with a GVWR greater than 10,000 pounds (excluding mobile structure trailers). On those vehicles, tread shall be at least four thirty-seconds of an inch on each front tire of any vehicle other than a trailer and at least two thirty-seconds of an inch on all other tires, checked for indicators or with a gauge in two adjacent major grooves at three locations spaced approximately 120 degrees apart.
Regardless of weight class, NHTSA notes three additional tire conditions to discuss at the service counter:
- Tire age: Some vehicle manufacturers recommend replacing tires every six years regardless of use.
- Electric vehicles: Because electric vehicles are often heavier than gas-powered vehicles, they require EV-specific tires to support the weight, maximize performance and electric range, and reduce tire noise.
- Structural tire damage: Any cut, sidewall bulge, or impact damage goes straight to a tire professional before highway travel.
What Should a Mechanic Check Under the Hood and on Dash Lights?
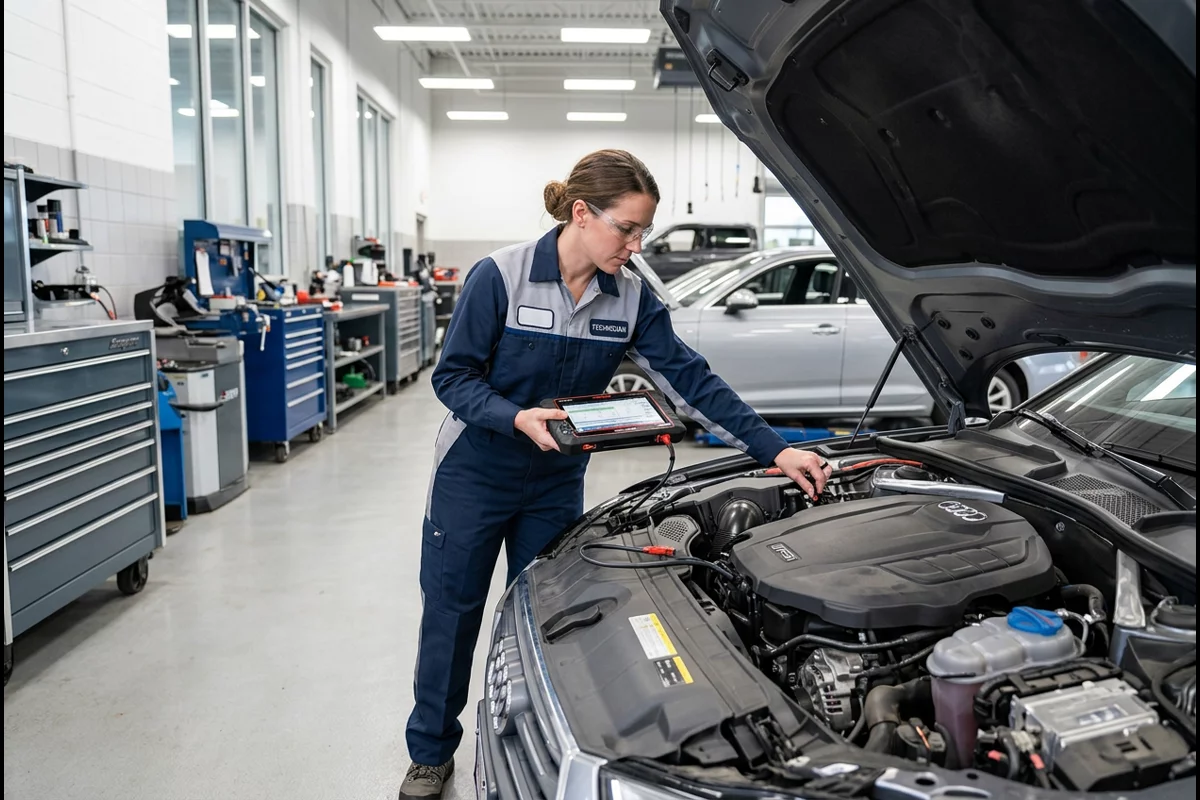
Under-hood shop preparation pairs electrical, cooling, and rubber-wear inspections with fault-lamp diagnostics, correct oil viscosity, and a free federal safety-recall search before you leave town.
Battery, Charging System, Cooling Loop, Belts, and Wipers
Both NHTSA Summer Driving Tips and NHTSA Winter Weather Driving Tips advise having a mechanic check your battery and charging system for needed repairs or replacements. Before winter travel, have the mechanic include belts in that check: when the temperature drops, battery power drops, gasoline and diesel engines take more battery power to start, electric and hybrid-electric driving range can be reduced, and a hybrid-electric vehicle should keep gasoline in the tank to support the gasoline engine. Testing an active road-trip car’s battery and charging system is distinct from keeping a parked seasonal vehicle charged at home; if you are leaving a second car behind in the garage while you travel, follow our guide to choosing a car battery maintainer and float-charge setup before storage.
Have the mechanic inspect the cooling system for leaks, test the coolant, and drain or replace degraded coolant so the mixture matches your owner’s manual specifications. Under the hood, inspect all rubber belts and coolant hoses for bulges, blisters, cracks, or cuts, and confirm every hose connection is tight. Check both sides of the windshield wiper blades for summer heat deformation or storm wear, test the defrosters, and fill the reservoir with winter de-icer washer fluid if your route crosses snow country. In 2024 alone, NHTSA recorded 365 fatal traffic crashes, an estimated 24,383 injury crashes, and an estimated 131,698 police-reported crashes during snow or sleet conditions.
Check-Engine Light, Oil Viscosity, and Air Filters
According to U.S. Department of Energy and Environmental Protection Agency guidance on FuelEconomy.gov, an illuminated check-engine light (malfunction indicator lamp) means something is wrong with the engine even when the vehicle seems to drive normally. It can be a loose gas cap or a more serious issue that reduces fuel economy, increases emissions, or leads to costly repairs later, so have a mechanic inspect a lit lamp before a long trip.
When authorizing routine fluid and filter service on the same visit, keep three DOE/EPA highway efficiency benchmarks in mind:
- Recommended motor oil viscosity: Filling the crankcase with the automaker’s specified grade improves gas mileage by 1 percent to 2 percent, and looking for Energy Conserving on the API performance symbol confirms friction-reducing additives. Putting 10W-30 oil into an engine designed for 5W-30 can lower gas mileage by 1 percent to 2 percent, while using 5W-30 in an engine built for 5W-20 can lower mileage by 1 percent to 1.5 percent.
- Engine air filter: Replacing a clogged air filter on fuel-injected, computer-controlled gasoline engines (those manufactured from the early 1980s to the present) or diesel engines does not improve fuel economy, but it can improve acceleration.
- Cold placard tire inflation: Keeping all tires at the door-jamb or owner’s-manual pressure (not the maximum pressure stamped on the tire sidewall) improves gas mileage by 0.6 percent on average and up to 3 percent, losing roughly 0.2 percent for every 1 psi drop in average tire pressure.
Free VIN Recall Check Before Drop-Off
Before handing over your keys, locate your 17-character Vehicle Identification Number (VIN) on the lower left corner of the windshield, your registration card, or your insurance card and run it (or your license plate) through NHTSA’s Recalls Look-up Tool. A clean result reads “0 unrepaired recalls associated with this VIN.” Manufacturers notify registered owners by first-class mail within 60 days of notifying NHTSA of a recall decision, and NHTSA monitors each safety recall so owners receive a free remedy from the manufacturer. Keep in mind that the lookup omits recalls already completed on your car, brand-new recalls whose affected VIN lists are still being uploaded, and recalls more than 15 years old unless the automaker provides extended coverage.
When Should You Schedule Car Service and What Belongs on the Work Order?
Deciding when to schedule car service before road trip travel comes down to four real calendar steps rather than a one-size-fits-all day count: checking whether your trip mileage crosses an owner’s-manual service interval, leaving room for a signed written estimate and optional second opinion, allowing delivery time for replacement parts or recall hardware, and picking up the car with a completed repair order before packing day.
In Auto Repair Basics, the Federal Trade Commission advises following the maintenance schedule in your owner’s manual for the type of driving you do. Some repair shops print house maintenance schedules that call for shorter intervals than the vehicle manufacturer specifies; lay the shop’s recommendation beside your owner’s manual and ask the service advisor to explain why any extra item appears on the quote.
| Work-Order Stage | What to Verify or Request | Why It Protects Your Pre-Trip Service |
|---|---|---|
| Technician Credentials | Look for current certifications in the specific technical area being serviced, such as an Automotive Service Excellence seal | Indicates that some or all technicians meet basic standards of knowledge and competence in specific technical areas; certification alone is no guarantee of good or honest work |
| Diagnostic Fee Policy and Second Opinions | Ask up front whether diagnostic time is billed if you take the repair elsewhere; consider a diagnostic-only shop that does not sell parts when questioning a major quote | Prevents surprise diagnostic charges if you decline add-on work and gives an unbiased opinion when a large repair surfaces right before a trip |
| Signed Written Estimate Before Work Starts | Get a signed copy listing the condition to be repaired, parts needed, anticipated labor charge, and an instruction to contact you before exceeding a stated amount of time or money | The signed estimate identifies the condition, parts, and labor before work starts; state law may require the shop to make contact before work exceeds the stated time or money |
| Completed Repair Order at Pickup | Collect a final order listing every repair performed, each part supplied, the cost of each part, labor charges, arrival and completion odometer readings, and ask for replaced parts | Creates a permanent mileage-stamped baseline for warranty protection, fluid-grade verification, and your next post-trip maintenance interval |
Bring your owner’s manual and your most recent service receipt (showing the odometer reading from your last oil, tire-rotation, or brake visit) to the counter so the advisor only writes up work your mileage actually requires. Once your completed repair order and bay measurements are in the glove box, work through the day-before cabin and emergency items on our road trip car prep and packing checklist, set realistic daily driving bands with our long-drive distance and fatigue planning guide, or browse more trip-planning articles on the driving and road-trip blog.